Going into this project, I had a clear vision of what this MIDI controller would look like, and what functionality it was going to have. So, it made sense to start with CAD, since 3D printing big parts like this takes a huge amount of time, and I needed to wire everything up before I can even start developing the firmware.
I used Solidworks to design the case, keycaps, fader knobs and feet.
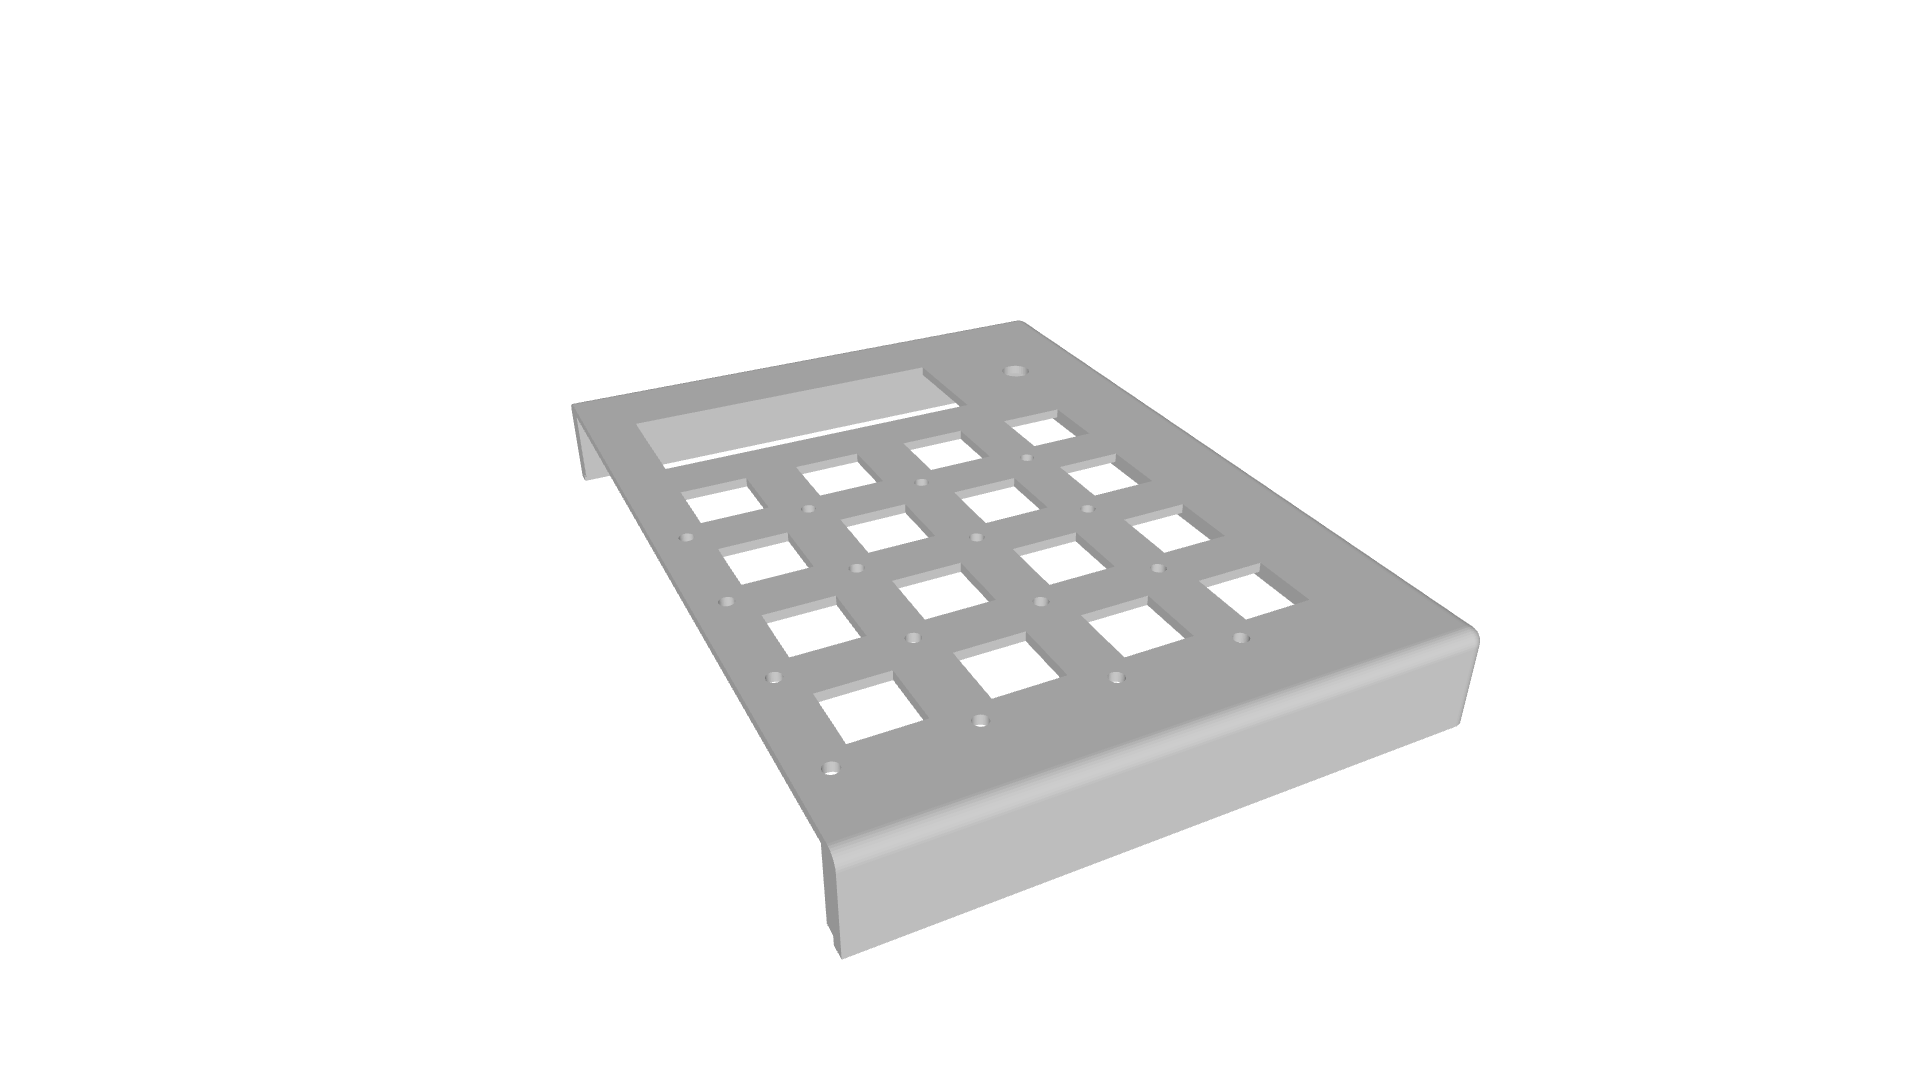
The Main Chassis
The chassis was 3D printed with PLA. I had to split it into 2 parts, since it was just a tad too big to fit within the Ender 3’s print volume.
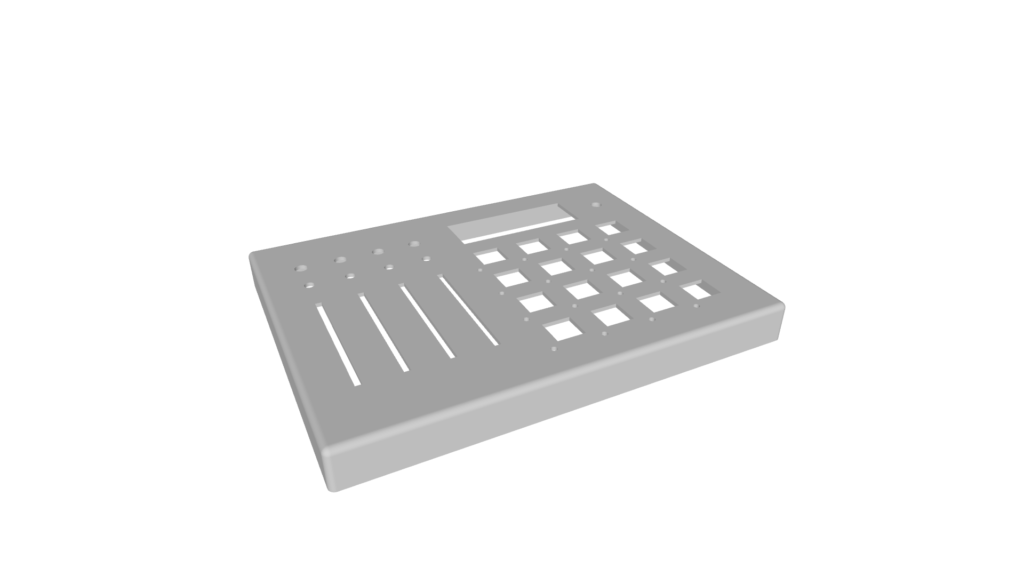
Split into:
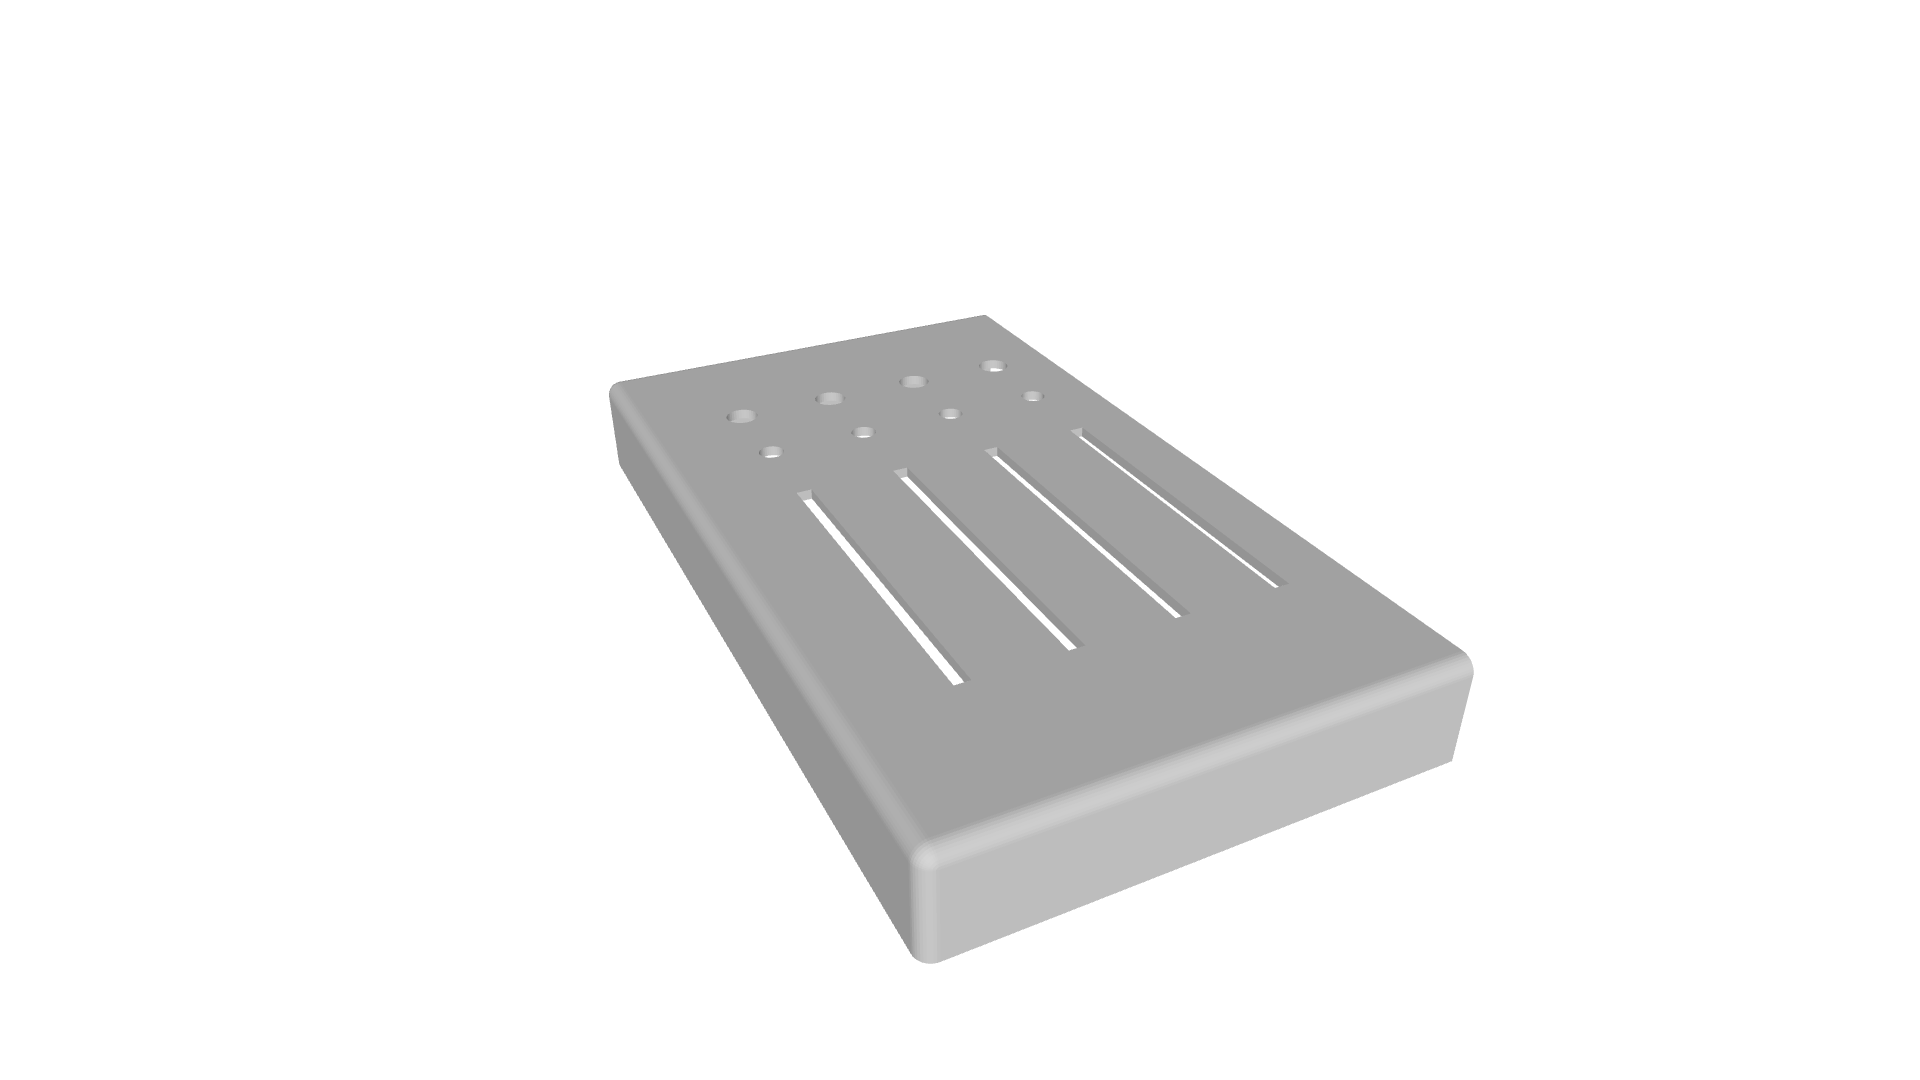
And I just epoxy-ed the two halves together. In hindsight, it would have been a lot better if the model was split with a jigsaw puzzle pattern, as the straight line split left very little surface area for the epoxy to grab on to, and the entire middle section of the chassis had just a tad too much flex for me.
I modeled in a post with a 3.5mm hole and a shallow square cutout at each corner inside the case, which would later have an M3 square nut superglued in as a makeshift threaded insert. I find that such a solution is plenty strong to hold lids of electronics projects, since it doesn’t need to carry much weight at all.
I should also point out that since I printed this in PLA, the sections where the two halves join together came off the build plate were ruler flat and matched one another nicely. However, I tried doing something similar with PETG and it warped slightly, making joining the two halves seamlessly (if you can call it seamless) quite a challenge!
The Bottom Plate
Luckily, the bottom plate fit into the print volume of the Ender 3 (with just a few millimeters to spare). I actually designed the bottom plate after I had printed the first half of the chassis. Seeing how much flex it had, I decided to model in a grid pattern to try and give the bottom plate more rigidity.
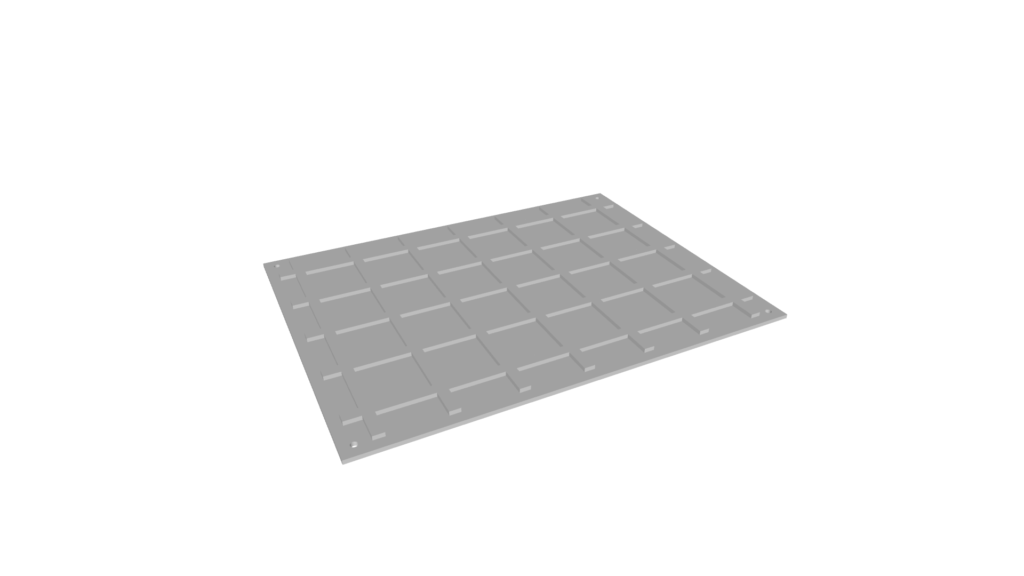
Turns out I greatly underestimated how tall DIP packages soldered onto a perfboard are. In the end, I installed the bottom plate backwards, ie with the grid facing out, and believe me, even that was a seriously tight squeeze.
The Keycaps
If you ever design keycaps for Gateron switches (or Cherry MX, Outemu, *insert Cherry MX clone here*), do note that you need to have a “stem” where the keycap meshes with the cross on the keyswitch.
Like this:
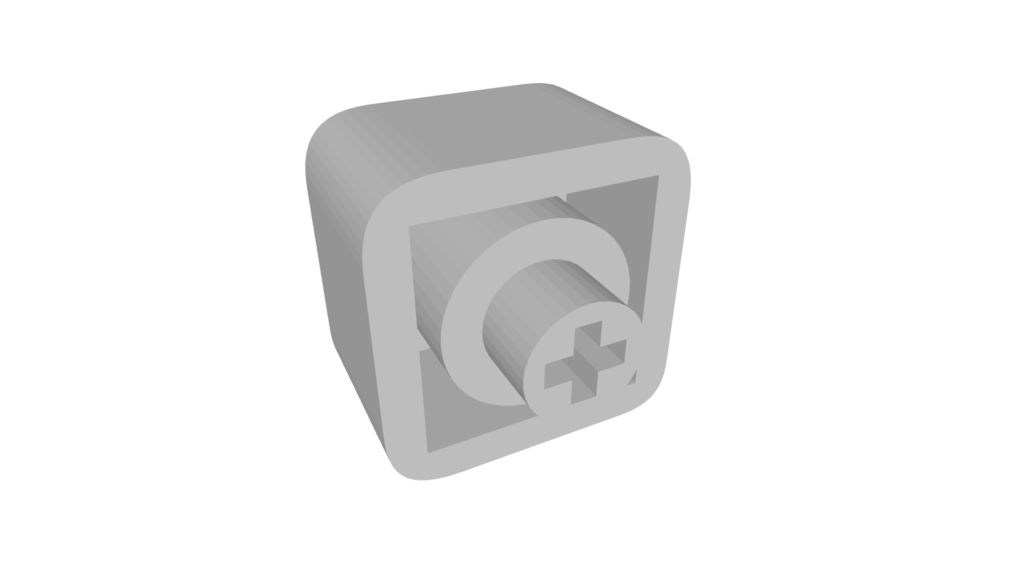
Initially, I just had a cube with a plus shaped hole cut into it, and well, that didn’t work, since the top of the post on the keyswitches is flush with the top of their shells when the keyswitch is fully depressed.
Oh, and the stem also needs to fit within the rectangular hole that the keyswitch depresses into.
I printed the keycaps with TPU, figuring that they will be all fancy and soft-touch. It worked nicely, but only when I printed one at a time. I tried to duplicate them in Cura and there was extremely pronounced stringing. The cross shaped hole was also malformed on almost all of them.
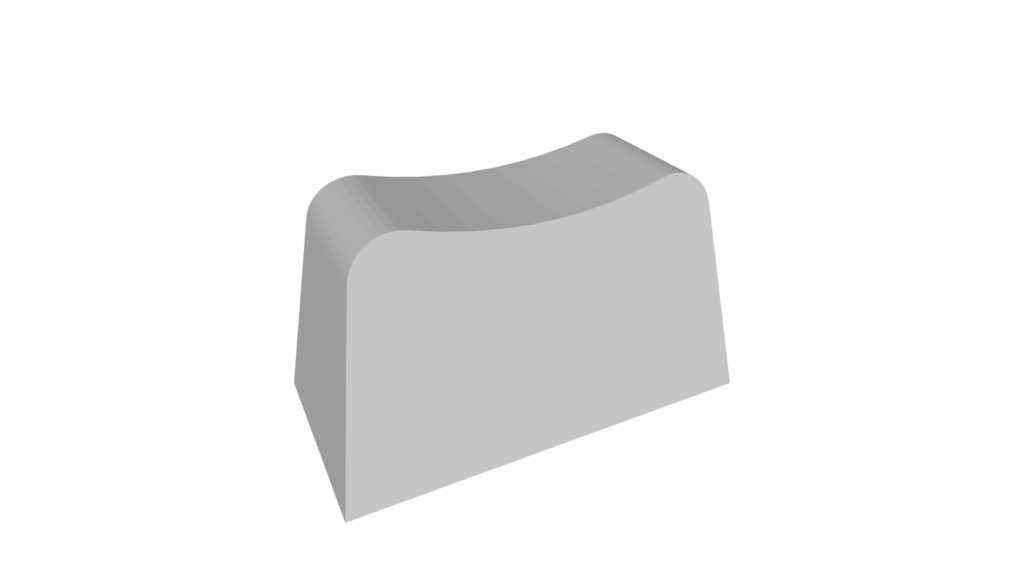
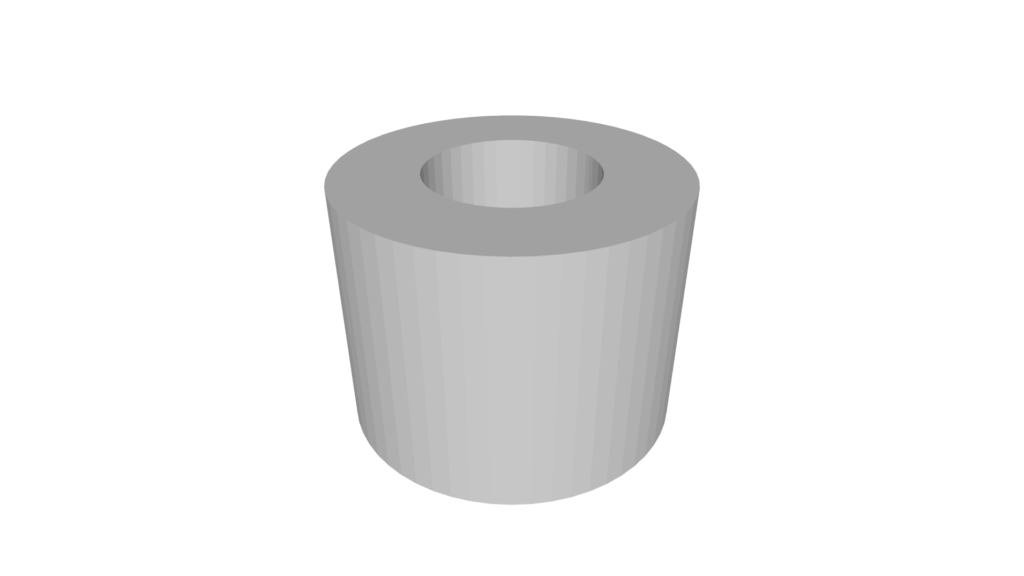
The Fader Knobs and Feet
These are pretty basic TPU parts.
The Assembly
Ah yes, the assembly…
Since I didn’t see the need for a custom PCB for this project, its insides are basically a whole bunch of perfboards, ribbon cables and point-to-point wiring, which is less than ideal.
For ordinary rotary potentiometers, that would have been fine. However, I was using faders (slide potentiometers), which meant I was going to have to glue them directly onto the plastic.
Turns out, epoxy really doesn’t like to bond to the top surfaces of 3D printed PLA, nor does it hold on to the smooth metal chassis of slide potentiometers very well.
Sand your surfaces before using epoxy. That being said, when sanding some of the metal dust got into my slide pots, which really obliterated their smoothness. They are now feel very gritty and unpleasant. So, if you do decide to glue slide pots, I really do not recommend that you sand their top surfaces (the surface with the cutout and the post sticking out), as even the tiniest bit of dust just completely ruins these delicate things.
No, sanding them upside down hoping that gravity will pull the dust away from the cutout absolutely did not make things any better.
If you absolutely must glue slide pots, only sand the sides, and be extremely careful when doing so too.
While I was at it, I also epoxy-ed all the LEDs directly to the case. Yes, I did need to sand them as well.